Yesterday I cycled 200 km across the mountains of west Izu (Shizuoka prefecture, Japan) on my Bike Friday folding bike. I had resolved do at least one century ride (160+ km) every calendar month of this year, some of them organised events, but most personal rides. BRM309 200 km by AJ NishiTokyo was my first official brevet of the year. I completed it in an official time of 12:58, i.e. just over half an hour under the 13 1/2 hour time limit.
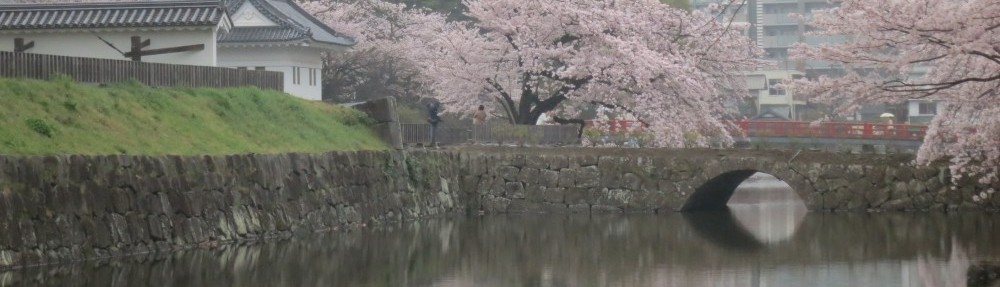
The scenery was beautiful and the weather perfect but the course tough. With a highest point of 450 m, I first found it hard to believe that this course should really have more climbing (3159 m total) than the 300 km Fuji brevet I did last May (2800 m total), but except for the first and last 10% and some short stretches through the towns on the coast, this was a pedal-powered roller coaster! On the smaller roads grades of 8-11 percent were not uncommon.
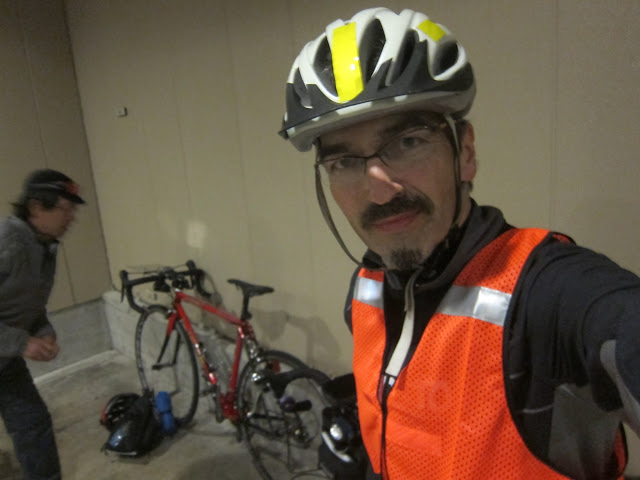
I loaded the Bike Friday into the Prius the night before (no need to fold the bike or take off the wheels), went to bed at midnight and got up at 04:00. A little after 06:00 I got off Tomei expressway at Numazu and drove near Mishima station, where I found a 1000 yen ($10.50) a day car park. One couple dressed like randonneurs was already setting up their bikes in there.
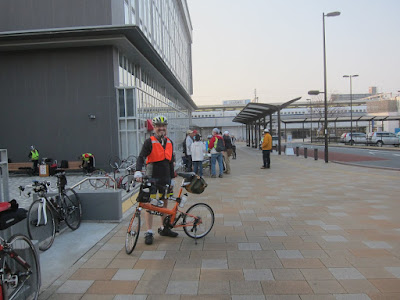
An hour from home on the expressway it had suddenly struck me I had left my reflective vest at home. No vest, no brevet! But it was already too late to turn back. Fortunately the organisers had some stock and sold me one for 1600 yen ($17). To start with I was wearing new bib shorts and new jerseys (two layers for the morning and evening chill). GS Astuto’s HauteRoute shorts proved exceptionally comfortable, like wearing your best pair of pajamas at home. I sweated a lot, in fact my cheeks were white with salt afterwards, but the shorts and jersey kept me comfortable. The deep pockets safely stored wallet, camera, keys and some food.
There were 60 riders in two blocks of 30, starting at 7:30 and 8:00. They started us in smaller groups. I was wearing my heart rate belt and wanted to aim for a consistent workout throughout the day, but I worked much harder during the first 50 km than I had intended and less hard later on. When you have some other fast guys to follow (which would save you having to navigate) it is tempting to hang on at whatever cost. We headed through town and along a river to the south. After 20 km the route started climbing, peaking at a tunnel about 450 m above sea level, then down to the coast. We made the first 50 km in 2 1/2 hours, putting me more than half an hour ahead of the pace needed for completing in time, and that is what I also finished with.
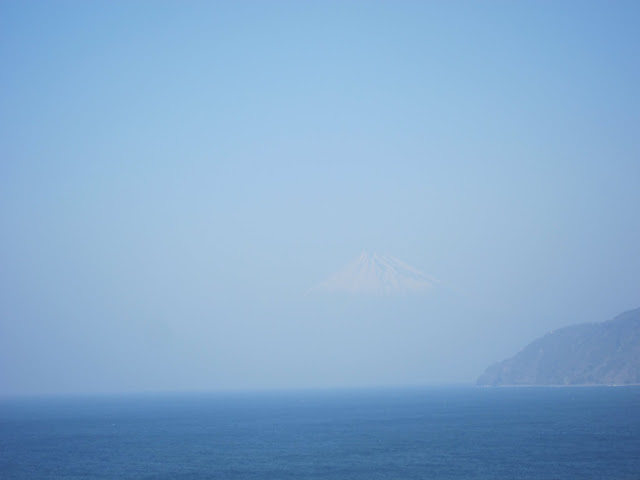
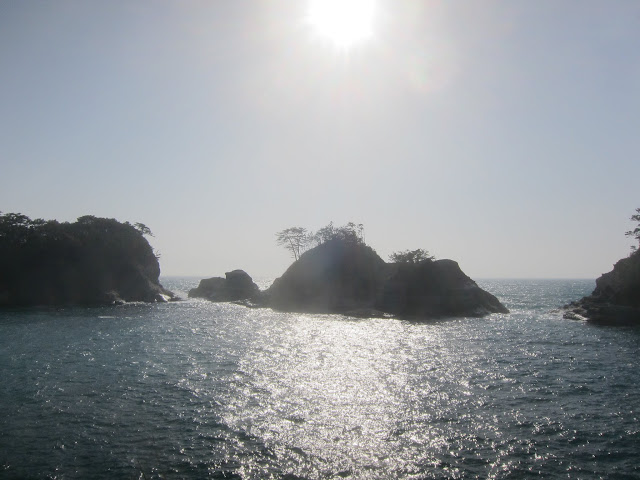
I glimpsed Mt Fuji across the bay from near Toi.

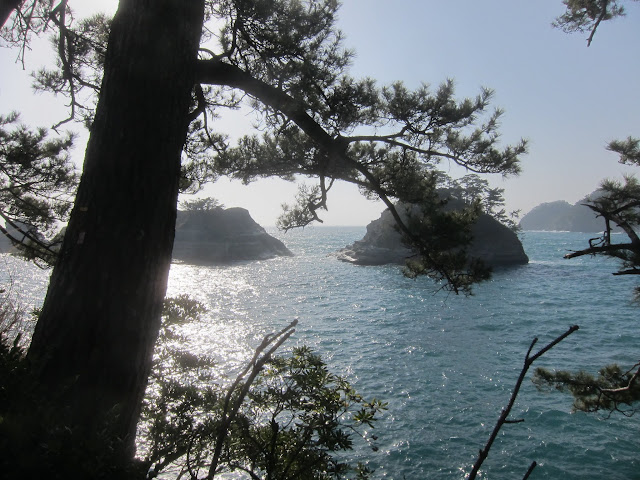
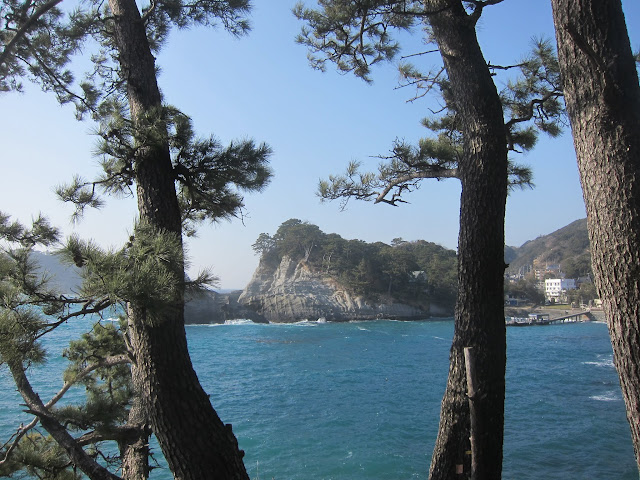
The coastal road went to Matsuzaki through many tunnels and a couple of climbs. After Matsuzaki we climbed the second highest pass on a small mountain road and it was very pretty. Plum trees (ume) were in bloom everywhere.


PC1 (point de contrôle 1) was at 95 km, almost at the half way point, but there had also been a safety check at the first tunnel (lights!). We were given pastries baked in the shape of bicycle cranks.
From the control point we headed west to the coast, which we mostly stayed on. As mentioned before, the coastal road goes mostly up and down. It only becomes level again at the north west corner of Izu. The top third of the west coast was the hardest part. There were few villages, no shops and it was gradually getting dark. I had somehow expected the second half of the ride to be easier than the first because the maximum elevations were much lower, but it was actually harder. Between Toi and the north coast there were no flat portions in towns between descents and climbs, because there were no towns (or more appropriately, there were no towns there because there was no flat land).
The following was a sign we had to spot and then write down the Kanji characters, as part of a quiz question. As a Kanji-challenged foreigner, I got dispensation to bring back a picture instead:


Izu used to have a lot of terraced rice fields built into the hills because there wasn’t much flat land. Much of these fields now lie fallow or have been turned into sugi tree plantations contributing to the hay fever epidemic in Tokyo.

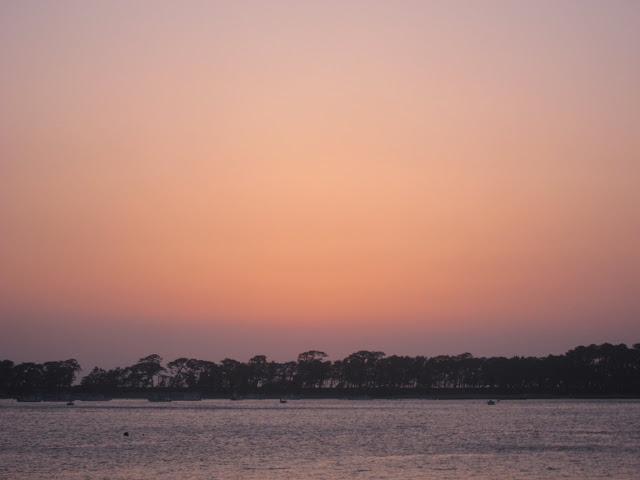
Mt Fuji at dusk:


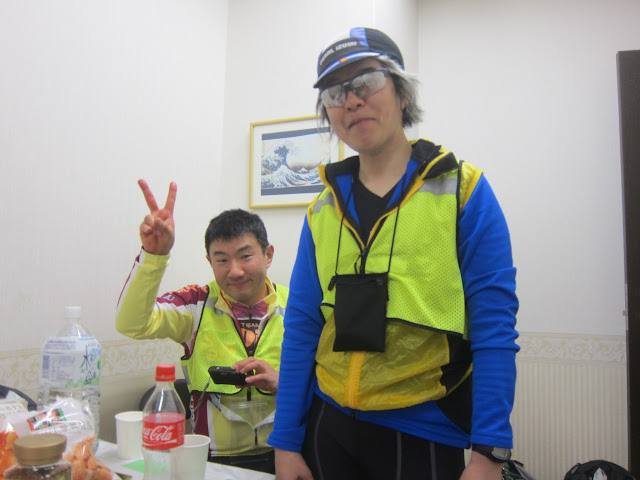
I completed!
Having my brevet card checked at the finish:

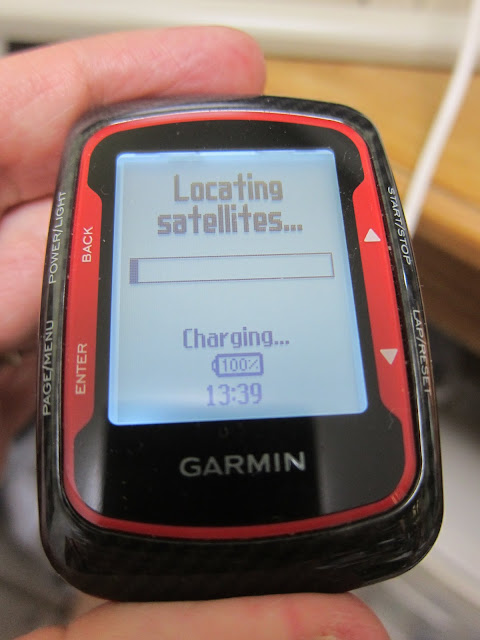
Garmin Edge 500 on long rides
Since January I’ve been using a Garmin Edge 500 with heart rate monitor strap for logging bike rides. Garmin quotes a battery life of “up to 18 hours”. After this 13 hour bike ride, it showed a remaining battery capacity of 21%. Extrapolating from this, the battery would have lasted about 16 hours in total.
I was not just logging the ride (GPS data) but also using the heart rate strap and had the Garmin track a course with turn-by-turn instructions, which probably draws a bit more power. I had created the course as a TCX file in RideWithGPS while looking at the course as published on http://latlonglab.yahoo.co.jp.
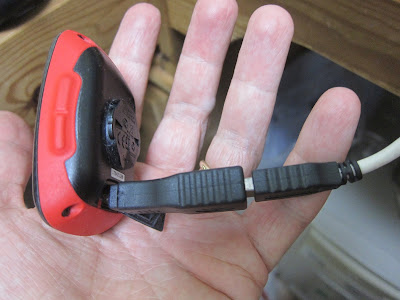
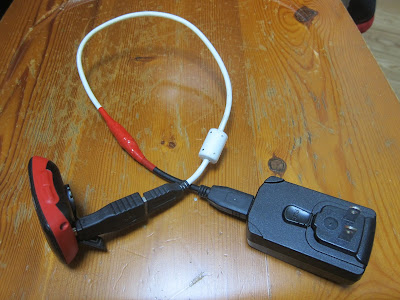
In any case, 16 hours is enough for a 200 km brevet with its 13 1/2 hour time limit, but not enough for a 300 km brevet with its 20 hour limit, unless you are a really fast cyclist and/or the course is extremely flat. For my 300 km brevet I am planning to use my Garmin Edge 500 power hack, a special USB cable that allows me to charge the device while logging and navigating.